My name is Ashley. I live in Northeast Ohio with my daughter, Emma Ann, my fur-son, Nerd, horses Missy and Rain, and my (non-Hungarian) boyfriend Dave. Emma Ann has been showing horses (local fair and shows) since the age of 5. This year, we both started competing in Mounted Shooting. When I am not at a horse show I enjoy making new meals from a cookbook made by the Hungarian Club my grandfather was president of when I was a kid. My grandfather, Andras, on my dad (John) side, came by himself to the U.S from Hondasz, Hungary in 1957 at the age of 17. He passed away when I was in Jr. High. But I do have a ton of family in Hungary I get to communicate with through Facebook. I love learning all the different Hungarian traditions and incorporating them into our traditions. I now want to add some Hungarian style to my household, which is what inspired me to make these garden stones. I love doing different crafty things so when I picked up a DIY stepping stone kit for $5 my creative mind got to thinking. I then had to pick up extra supplies to make more!!
There are two ways to make this.
DIY stepping stone kit material list:
DIY stepping stone kit ($5 from Five Below)
Cold water ($0 from Kitchen Sink)
Newspaper ($0 from parent in laws house)
Paper plates ($0 because I also have these in my kitchen)
Black Craft Acrylic Paint (Under $1 from Walmart)
Paint brush ($1 from dollar store)
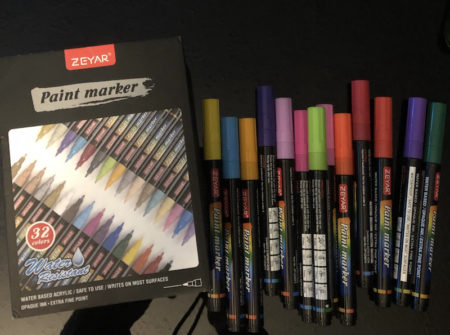
Paint Markers in different colors (I got mine on Amazon for $35 but any will work)
Varnish ( I have a big bottle I got on Amazon for $18 but there are cheaper/smaller bottles)
Paint brush for varnish ($1 dollar store)
Or
Plaster of Paris material list
Plaster of paris (under $10 from Lowes, I will be able to make a million)
Plastic flower out sauces ($1 from Dollar store)
Cold water($0 from Kitchen Sink)
Measuring cups($0 from Kitchen drawer)
Craft wood sticks($1 from Dollar store)
Newspaper ($0 from parent in laws house)
Paper plates ($0 because I also have these in my kitchen)
Black Craft Acrylic Paint (Under $1 from Walmart)
Paint brush ($1 from dollar store)
Paint Markers in different colors (I got mine on Amazon for $35 but any will work)
Varnish ( I have a big bottle I got on Amazon for $18 but there are cheaper/smaller bottles)
Paint brush for varnish ($1 dollar store)
I added pictures of what I used in the instructions.
DIY Stepping Stone KIT: I picked this kit up at Five Below for (well you guessed it) $5.
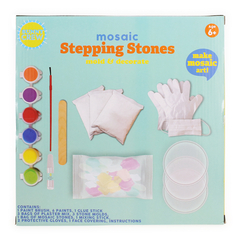
I then just followed the simple instructions to make the “plaster like” stones.
I set up a little work area in the garage (placed newspaper down on the ground, out of the way). This kit came with 3 pre-measured bags of mix that I poured into the provided molds, added the amount of water it said then mixed with the craft stick. I waited the 3 days it says to wait to dry then moved on to the next step. If you don’t want to buy the stepping stone kit, you can follow the next set of instructions.
*** *** *** ***
Plaster of Paris Method: You may have some in the garage or would just prefer to do it this way.
I picked up this 4lb container of Plaster of Paris from Lowes for under $10.
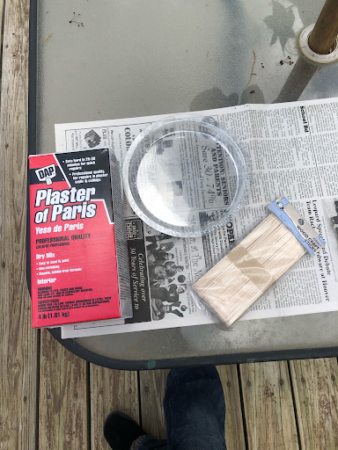
I used the plastic molds from the kit but you can use plastic flower pot saucers from the dollar store. The molds in the kit are 6 inches wide by ½ inch deep. You can use any size though.
You will also need: wood craft sticks ($1 from the dollar store) or something similar to mix with.
Measuring cups
Water
Newspaper
I found a dry area inside because it was still cold outside. I set up a tv try in front of my bay window and laid some newspaper down.
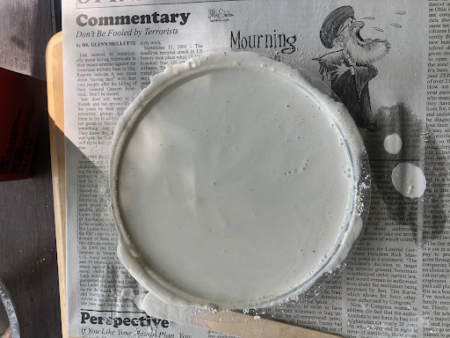
The Plaster of Paris instructions are to mix 2 parts plaster to 1 part cold water. I measured 1 cup of plaster and poured it in the mold. I did notice it would make it then so I added another ½ cup. So with 1 ½ cup plaster I added ¾ cup cold water and mixed it all together, making sure to scrap across the bottom. Once it was all mixed, I gave it a few taps to make it even and get some of the air bubbles out. Then let it sit overnight.
Now for the fun part. It doesn’t matter if you used a kit or made it from Plaster of Paris the rest of the steps are the same.
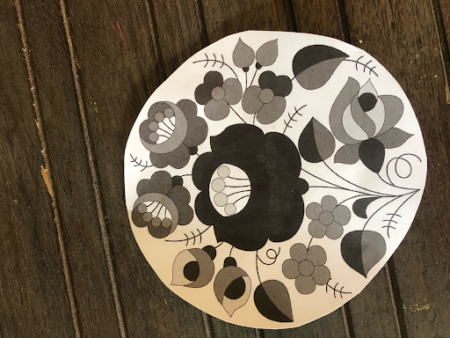
While waiting for it to dry I got online and searched Hungarian flower design. After finding the one I liked, I printed it out to the size I needed (I just guesstimate) and cut the excess off around the design.
Once the plaster is dry (they may still feel a little moist, but that’s ok), I pop them out of the molds and place them on a paper plate or something similar.
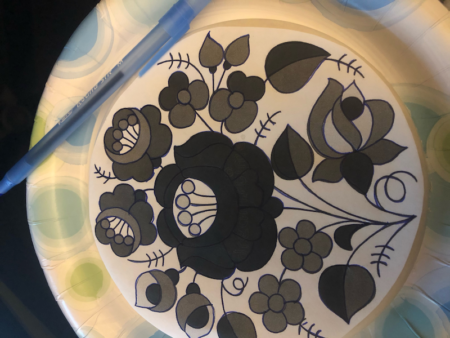
I then lay the design over the stone and trace it with a pen. Using medium pressure so the design is “etched” into the plaster.
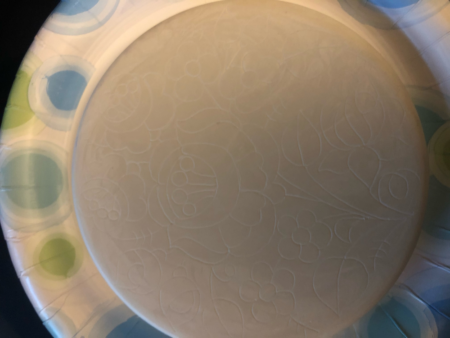
Next, I painted the bottom black with acrylic craft paint. I did a few coats to make sure it was fully coated. Once that is dry I flipped it over and paint the top and sides.

I let that dry for a few hours to make sure it was fully dry.
While that dried, I got my paint markers out and picked the colors I wanted to use.
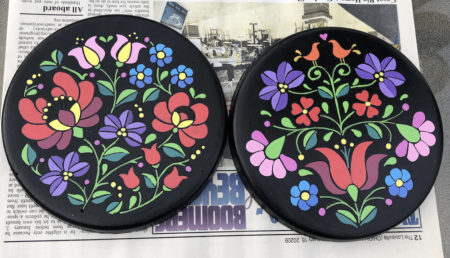
After the black paint is completely dry, I used the paint markers to color in the design. Just like coloring in a coloring book. It does take a couple coats to get the color vibrant.
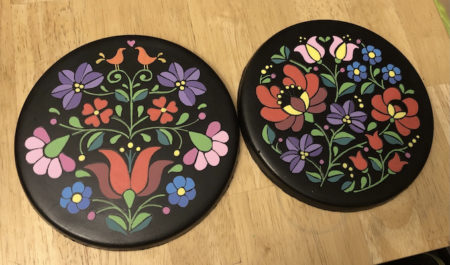
Once everything is colored. I took them outside and put them on some newspaper and sealed both sides with varnish.
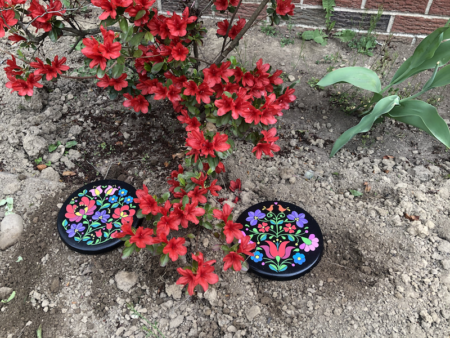
The final step is to place the finished piece out in the yard and enjoy!!!!
I hope everyone has as much fun as I did making these!!! If you have a question or make these please feel free to send me an email [email protected]